Gearing up to make a large run of identical parts for a project can be a real challenge, especially in a small shop. The key to accurate results is consistency and organization. But you don’t need a huge shop to stay organized. Here are five tips you can use to get production shop results in a home shop. Any kind of production process starts with gathering and preparing the raw materials. I begin by planing and jointing my stock to square up all the boards. And I also run all the parts of the same thickness through my planer at one time. This way, I can avoid slight differences in thickness caused by trying to reset my planer to match the thickness of parts that I’ve already made.

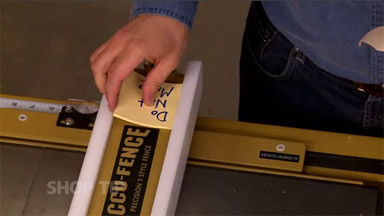
Once I have my stock thicknessed, the next step is usually to begin cutting parts to size. Here again, you want consistent results. An accurate rip fence will ensure that like parts are all ripped to the same width. But when it comes to cutting the parts to length, a simple stop block clamped to your miter gauge fence is invaluable. A stop block allows you to cut multiple parts to the same length without having to measure each one. You can save more time by stacking your workpieces two or three at a time to make “gang” cuts.

One of the best ways to speed production of multiple parts is to group identical workpieces together when doing layout tasks. For example, when I have a number of identically sized rails or stiles that are to be mortised, I’ll clamp the parts together and lay out the mortise locations on all the pieces at one time, as shown in the drawing at right. This method also works well for laying out hole locations in identical parts. Not only does this method save time, but it has the additional advantage of ensuring that all your mortises or holes are laid out in the same position on each piece.

When it comes to laying out curves or odd-shaped parts, one of the best ways to achieve consistency is by using a template. All you have to do is lay out your pattern on a piece of hardboard. Then cut the template to shape and sand the edges. You can then use this template to transfer the pattern to your workpieces. This not only saves time, it also ensures all your pieces will be laid out identically. By taping the template to your workpiece, you can also use it as a guide for a pattern bit. This allows you to trim the part to size after cutting it out to rough shape.

Organization is a key component to making a run of multiple parts. When you’re in the midst of cutting out parts, it’s easy to get workpieces mixed up. To avoid this, I label each piece with the part name. Then as I work, I keep identical parts stacked together until it’s time for assembly. No matter how hard you try, it’s inevitable that there will be some slight differences in the way even “identical” pieces fit together with mating parts. And after carefully fitting each joint, you want to make sure that the parts are assembled in the right order. So I always take time to also label and number mating parts of a project. Although this may sound like an extra, unnecessary step, it really can make your assembly go a lot smoother. These are just a few tips I use when building multiples of a project. Depending on the type of project you’re making, you may be able to come up with others.


